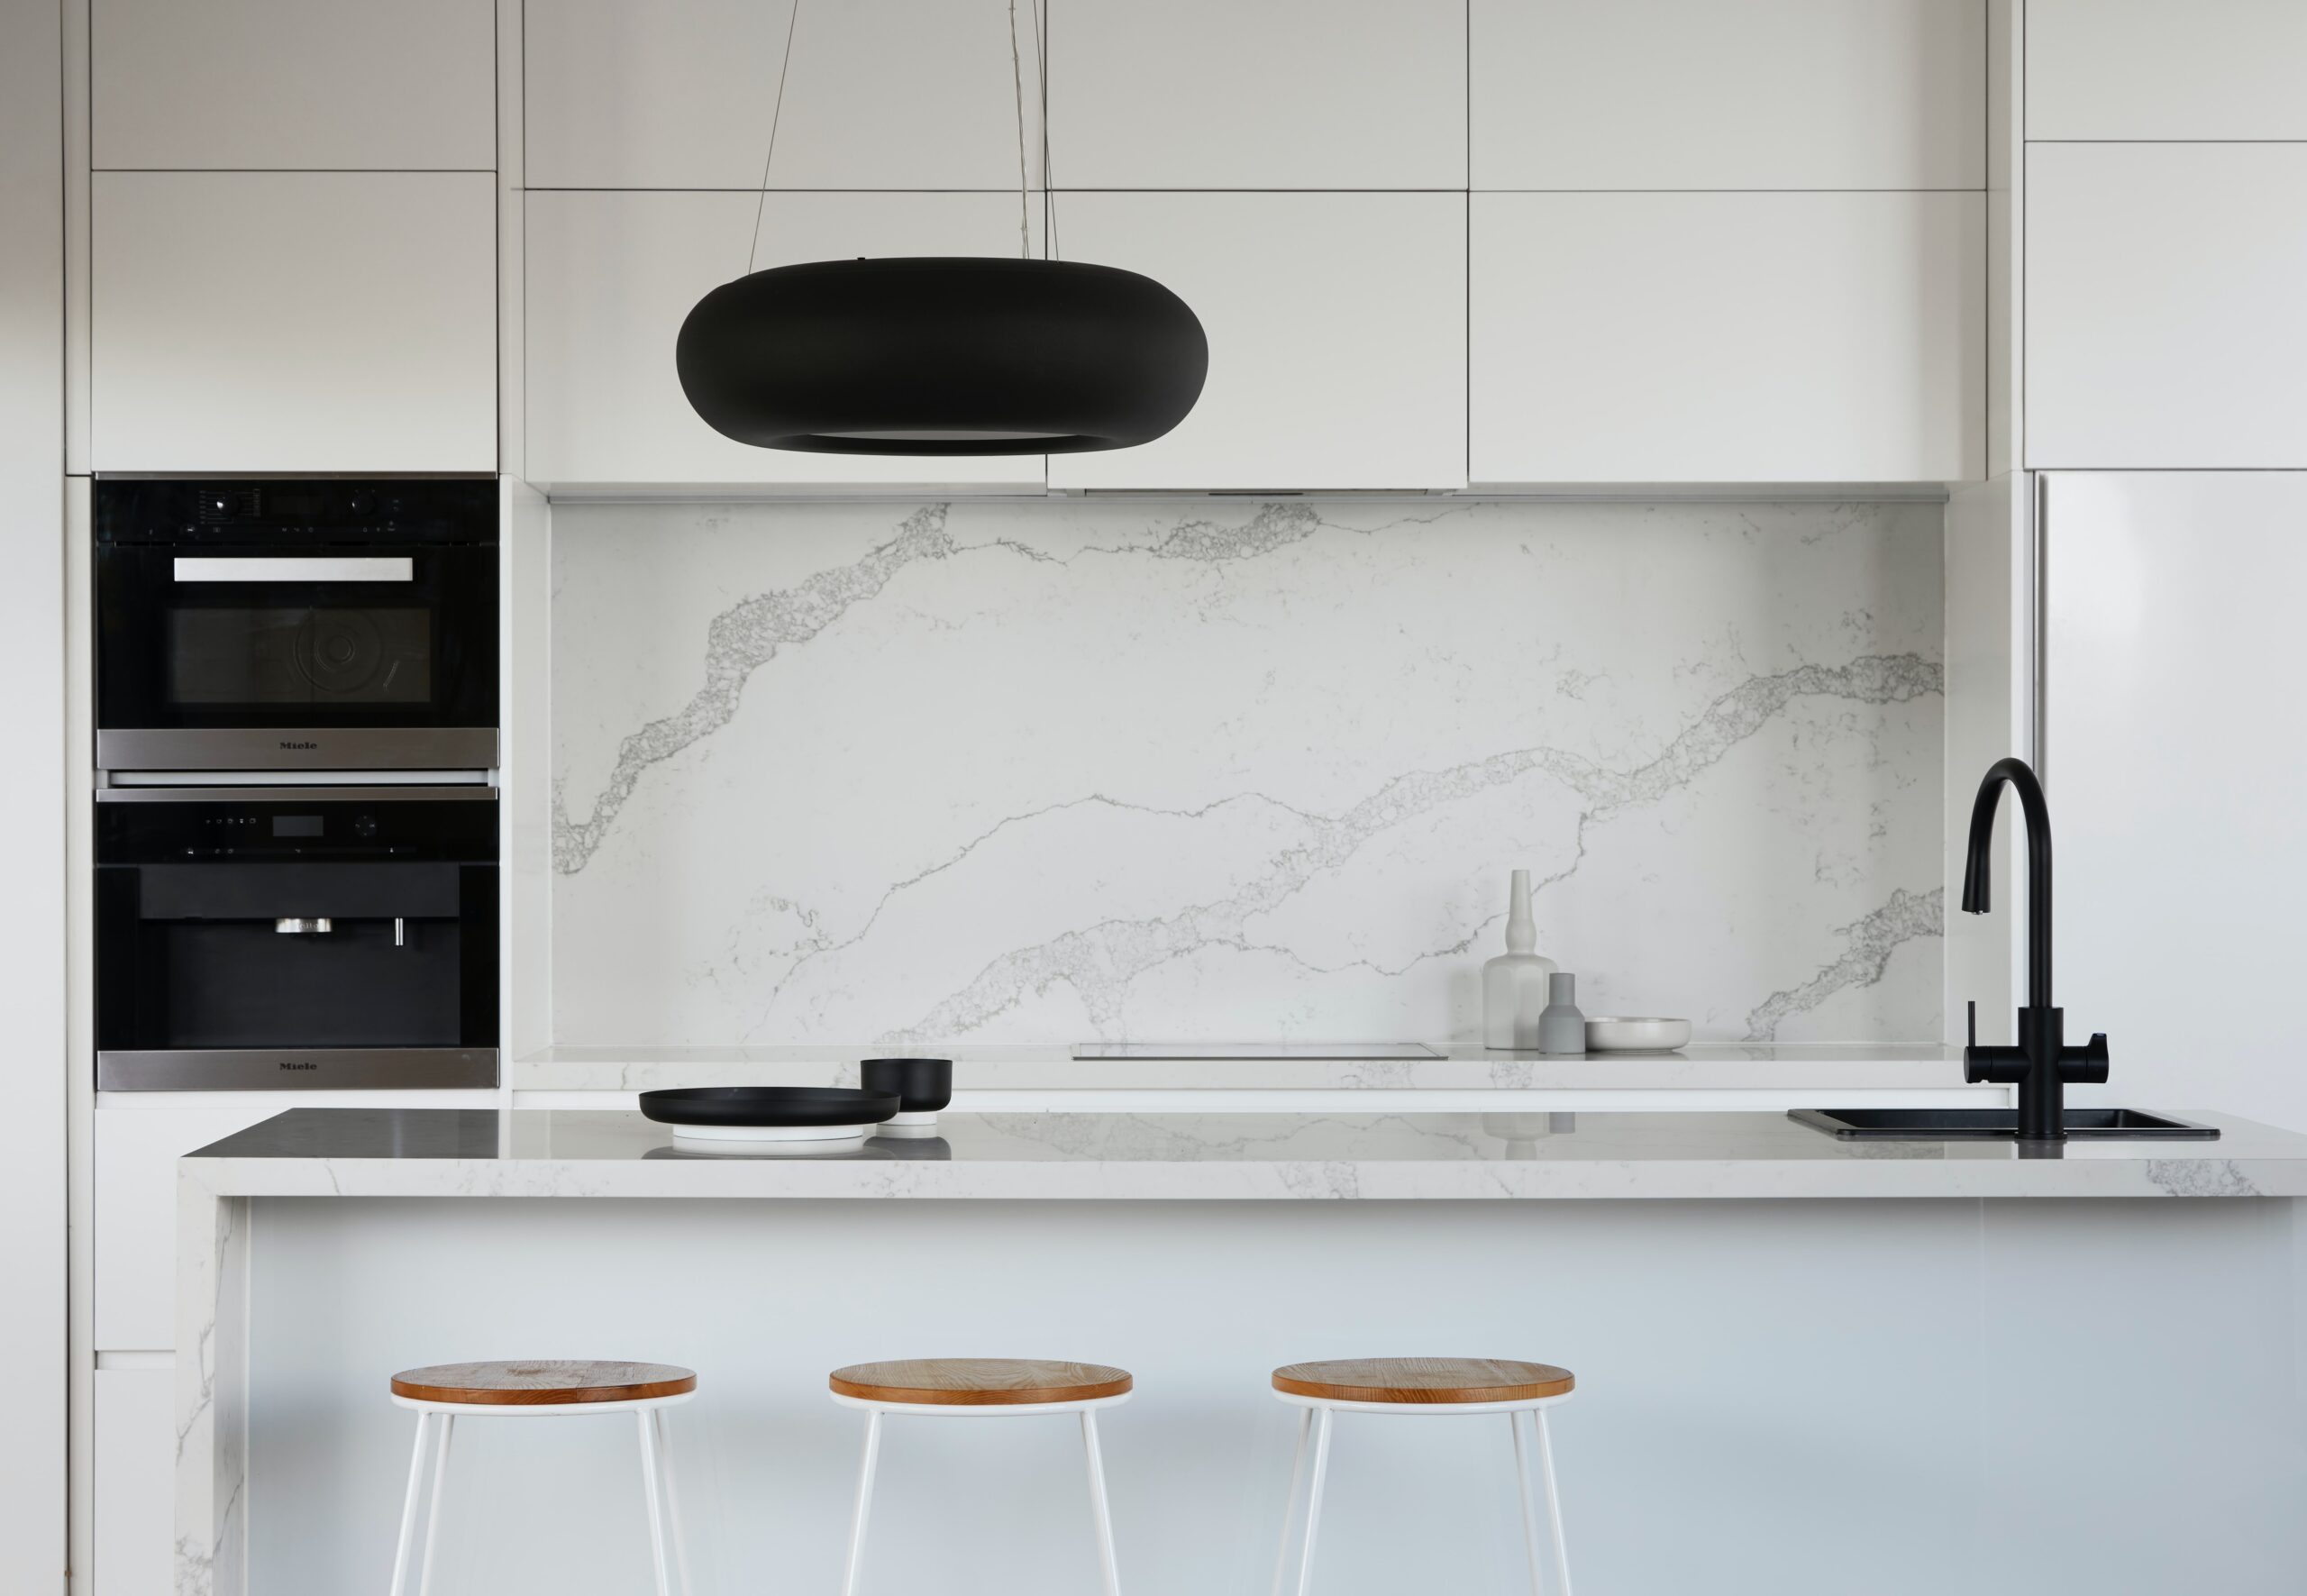
A recent home improvement survey found kitchen design ranks strongly as the most enjoyed room in the house. Yet many people who purchase a home often settle for what was already in place when they first purchased their new home. However, in many cases, homeowners feel like the room hasn’t reached its full potential. Yet, they avoid making significant structural or design changes due to a lack of experience, fear of getting it wrong and a range of other factors.
Perhaps they aren’t sure what the best choices are, or they’ve never undertaken a home improvement project. This fear keeps them from realising the full enjoyment of their investment. To ensure your kitchen looks its very beat you need to ensure that you put in the time and effort required to get it looking its very best. Brush that fear of the unknown away, roll up your sleeves and get ready to create that beautifully tiled kitchen design you have been dreaming of.
Let’s take a look at a simple five-step plan that will help you to bring your kitchen design dreams to life.
Take Inventory
Sit down with your family and verbalize what you like and don’t like about your kitchen. Write everything down, then rank from lowest to highest what exactly your priorities are. Do you need a new refrigerator? How about some beautiful kitchen tiles or a new cooking island surrounded by trendy bar stools?
Make your list. Include all of your thoughts, no matter how minor they are. This exercise aims to strategize and get a coherent plan for moving forward. Figure out your logical starting point based on your desires and budgetary limitations.
Start Slow And Build Over Time
Now that you have a clearly defined list of requirements, pick one of the simpler items and formulate a plan to make it happen. This is going to make your kitchen design project more manageable. Perhaps this is as simple as a new flat-screen monitor in the breakfast nook, but first, you want some Spanish mosaic ceramic tiles mounted where the monitor goes.
Figure out the mounting hardware requirements. Does your wall have the necessary studs? Do you have to redo the drywall? Keeping it simple at first allows you to experience the inevitable inflow of new questions that will arise as you get deeper into the project. Once this first one is complete, take a break and pat yourself on the back. Because now you have the confidence to step things up on the next project. Confidence builds momentum. Rinse and repeat. You can do this.
Avoid Mission Creep
In the first step, you clearly laid out your intentions for the kitchen design. Stick to the plan, and avoid combining different design languages together. This will lead to an inconsistent overall flow. If the design of the kitchen (or any room) is an incoherent mess, your attitude towards the room will suffer. Not to mention the resale value when moving time arrives.
Do What Is Required
Beautiful tiled kitchen designs are achieved with proper planning and execution. This job is labour intensive, so be sure you are focused on the requirements to avoid redoing work. Certain tile types have specific requirements for proper installation. For example, did you know there are three different types of grout? Cement-based grout, for example, is not waterproof and can be prone to mould if not properly sealed. Resin-based is water resistant.
In your checklist, you defined where you’d like to add tiles. Now you know which type of tile and grout to use based on your requirements. Don’t forget to give your new tiles a solid foundation beforehand to maximize their lifespan.
Maintain Your Tiles
As most homeowners will agree, the kitchen design area is generally considered to be a high-traffic zone, especially if you have pets or children or you entertain guests regularly. Regular cleaning and resealing at the recommended intervals will ensure you have the best-looking kitchen tiles over time. Keep a regular cleaning schedule where you do daily sweeping/vacuuming to ensure your kitchen design stands the test of time.
At least once a week, after sweeping, either mop or hand scrub your tiles with a large brush using a 50/50 mixture of disinfecting floor cleaner and warm water. Give extra attention to any stains or spills. Keep a small soft bristle brush on hand to get those grout lines back to their original shade. Baking soda mixed with warm water is a great solution for this, combined with a toothbrush dedicated to only scrubbing grout. Do this before mopping, and let the baking soda solution soak in for especially tough stains before wiping away the big chunks of baking soda paste.
The last step is a thorough mopping with your favourite tile-safe cleaner. Or, if you prefer all-natural solutions, a mixture of warm water with vinegar is excellent. Keep two separate mops on hand. The second one is for the final rinse and dry process with plain warm water. Keep working till the soap is gone. Then rinse out your mop and get it dry as possible before wiping the floor dry.
One final tip, show the kids this cleaning process and incentivize them to be more careful not to spill things on your newly installed kitchen tiles.
Have The Kitchen Tiles That You’ve Always Wanted
Many homeowners are nervous to take action when it comes to DIY work in their homes. To finally achieve the tile kitchen design you have been looking for, simply follow the steps outlined above. With the right approach, you can ensure that you not only have the kitchen tiles that you’ve always wanted but that you maintain that idyllic look for many years to come.
If you’d like to hear more about home trends and guides, be sure to read more about our lifestyle articles!


